Flutter核心思想:用Widget构建UI界面、万物皆Widget。
Flutter渲染思想:Widget描述UI,当Widget的状态改变,会重新构建UI。flutter会比对前后两者的差异,确定底层渲染树的最小更改。
- Text:带样式的文本
- Row和Column:水平/垂直布局
- Container:矩形控件
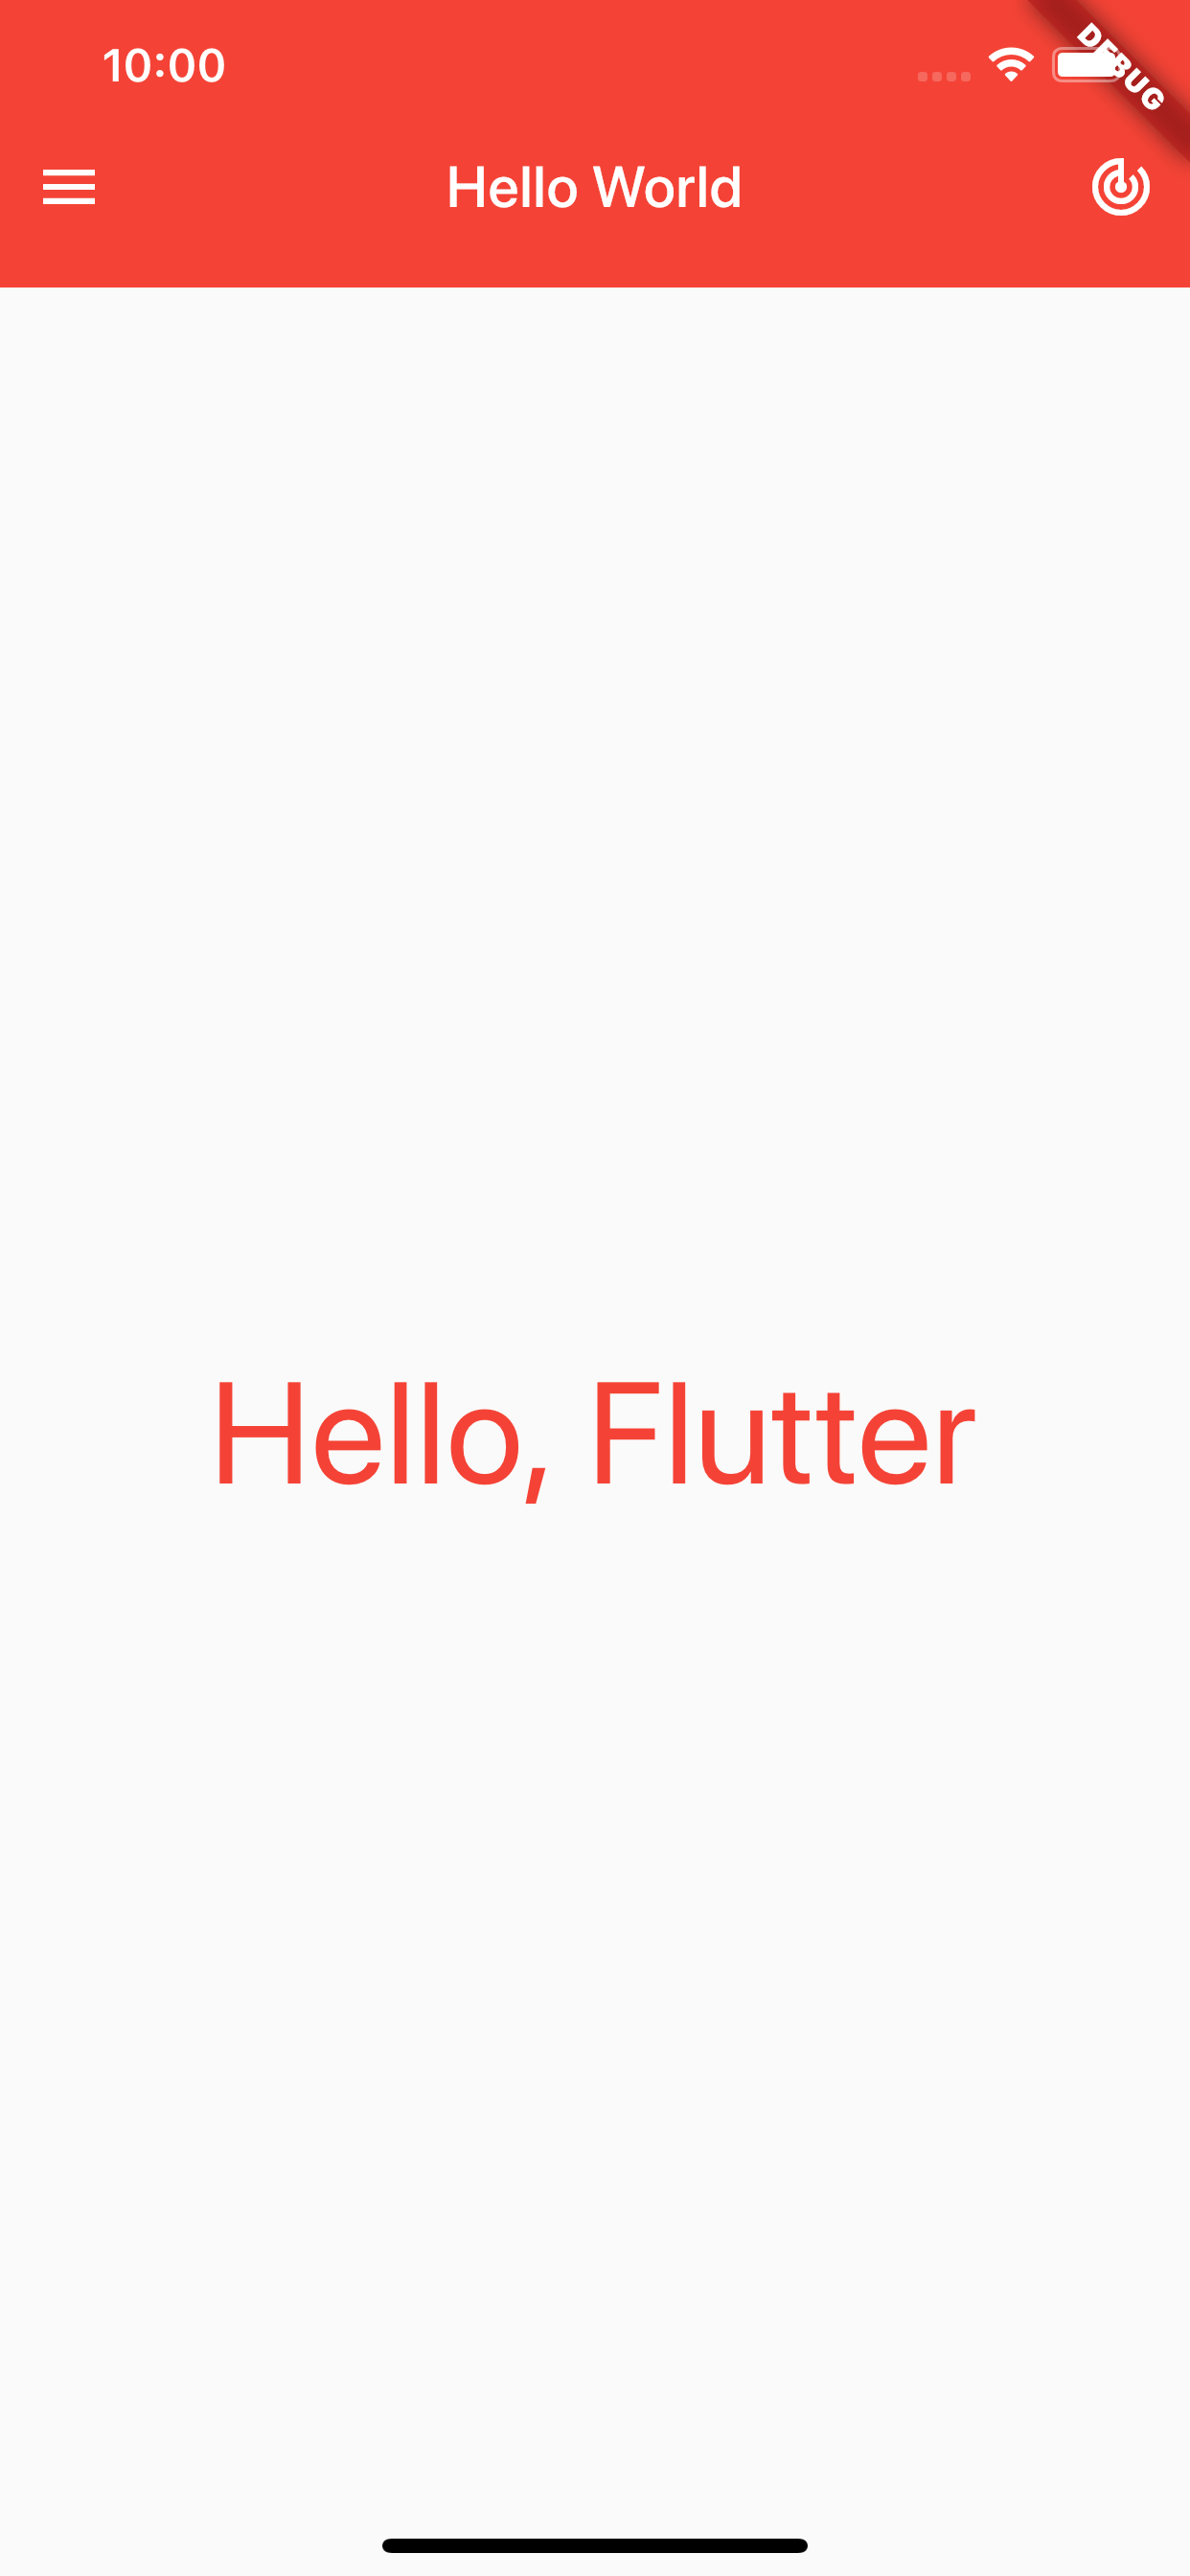
使用这些常用的Widget自定义一个导航栏样式:

源码解析
对整个页面进行分解,分为导航栏和展示内容两部分,这两者垂直排布,所以使用Column,导航栏内控件水平排布,所以用Row。
先自定义导航栏,导航栏分四部分:矩形背景、标题、两个icon。矩形背景可以用Container,标题用Text, 标题与icon的布局用Row实现。自定义导航栏,标题和icon要求外部传值。
因为内容不变,导航栏使用StatelessWidget,代码如下:
1
2
3
4
5
6
7
8
9
10
11
12
13
14
15
16
17
18
19
20
21
22
23
24
25
26
27
28
29
30
31
32
33
34
35
| class MyAppBar extends StatelessWidget {
MyAppBar({this.titleStr, this.leftIcon, this.rightIcon});
final String titleStr;
final IconData leftIcon;
final IconData rightIcon;
@override
Widget build(BuildContext context) {
return Container(
height: 100,
padding: EdgeInsets.only(top:30),
color: Colors.red,
child: Row(
children: <Widget> [
IconButton(
icon: Icon(leftIcon, color: Colors.white,),
onPressed: null,
),
Expanded(
child: Text(
titleStr,
style: Theme.of(context).primaryTextTheme.title,
textAlign: TextAlign.center,
),
),
IconButton(
icon: Icon(rightIcon, color: Colors.white,),
onPressed: null,
),
]
),
);
}
}
|
展示内容部分比较简单,文本填充,代码如下:
1
2
3
4
5
6
7
8
9
10
11
12
13
14
15
16
17
18
| class MyContent extends StatelessWidget {
MyContent({this.contentStr});
final String contentStr;
@override
Widget build(BuildContext context) {
return Expanded(
child: Center(
child: Text(
contentStr,
style: TextStyle(
color: Colors.red,
fontSize: 50,
),
),
),
);
}
}
|
这两部分组合在一个Widget中,使用Column布局,代码如下:
1
2
3
4
5
6
7
8
9
10
11
12
13
| class MyStateless extends StatelessWidget {
@override
Widget build(BuildContext context) {
return Material(
child: Column(
children: <Widget>[
MyAppBar(titleStr: 'Hello World', leftIcon: Icons.menu, rightIcon: Icons.track_changes),
MyContent(contentStr: 'Hello Flutter'),
],
),
);
}
}
|
demo的完整代码见工程中的 flutter_widgets


